Published on September 5, 2013 | Posted in Front End
Web testing with PhantomCss
When working on large projects with multiple developers over time a stylesheet can become very difficult and time consuming making changes. As the butterfly effect can truly kick in when you have to track what changes affect which ones through the site. Changing the width of a container on one page can ruin another layout of another page.

Step 1
Clone or download the source code from https://github.com/Huddle/PhantomCSS
Step 2
Run the Phantomjs.exe
Step 3
Create a new folder in the Phantomcss directory called test then inside the test folder create a file called headertest.js.
Step 4
We first need to initialise the CasperJs, add the following below.
/*
    Initialise CasperJs
*/

phantom.casperPath = 'CasperJs';
phantom.injectJs(phantom.casperPath + '/bin/bootstrap.js');
phantom.injectJs('jquery.js');

var casper = require('casper').create({
    viewportSize: {
        width: 1027,
        height: 800
    }
});
Step 5
Now that CasperJs is set up its time to initialise the PhantomCss module. We going to set up a variable to require the Phantomjs file. Then we will create a folder to save our screenshots.
var phantomcss = require('./phantomcss.js');

phantomcss.init({
	screenshotRoot: './screenshots',
	failedComparisonsRoot: './failures'
});
Step 6
We now going to set up our tests first we going to set the url which we will be testing.
var url = ‘http::/www.duaneblake.co.uk/’,
    url1 = ‘http::/www.duaneblake.co.uk/blog’;
Step 7
The next step is to create the test, Copy the code below into your editor.
    casper.start(url)
      .then( function (){ phantomcss.screenshot('body', 'test1'); } );
      casper.thenOpen(url1)
      .then( function (){ phantomcss.screenshot('body', 'test2'); } )
      .then( function (){ phantomcss.compareAll(); } )
      .run( function (){ phantom.exit(phantomcss.getExitStatus()); });
| Code | What it does |
|---|---|
| casper.start(url) | Starts casper and tells it to fetch the url |
| .then( function (){ phantomcss.screenshot(‘body’, ‘test1’); } ); | Casper then takes a screenshot of the page, from everything in the dom selector of body and label the image test 1. |
| .then( function (){ phantomcss.compareAll(); } ) | This then compares all the image against the previous test |
| run( function (){ phantom.exit(phantomcss.getExitStatus()); }); | This closes the script and returns the status of the test. |
Step 8
Once that run open the command prompt (From start menu type in cmd), then go to the root of the directory which has the checkout phantomjs code. Then type in the following command
phantomjs test/headertest.js
Step 9
If this is the first time you have run you should get the following message
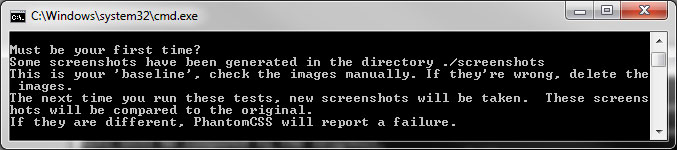
Now go back to windows explorer you should now see in the screenshot folder two images test
Step 10
I’m going to change something on my site I’m going to remove the header from the site. If you do something similar on your site.
Step 11
Now back to the command line and run the test again
phantomjs test/headertest.js
The command line will return the following message below
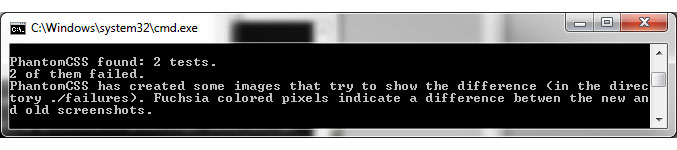
Step 12
Go to the failure folder phantomcss will provide screenshots of what the differences between the images.